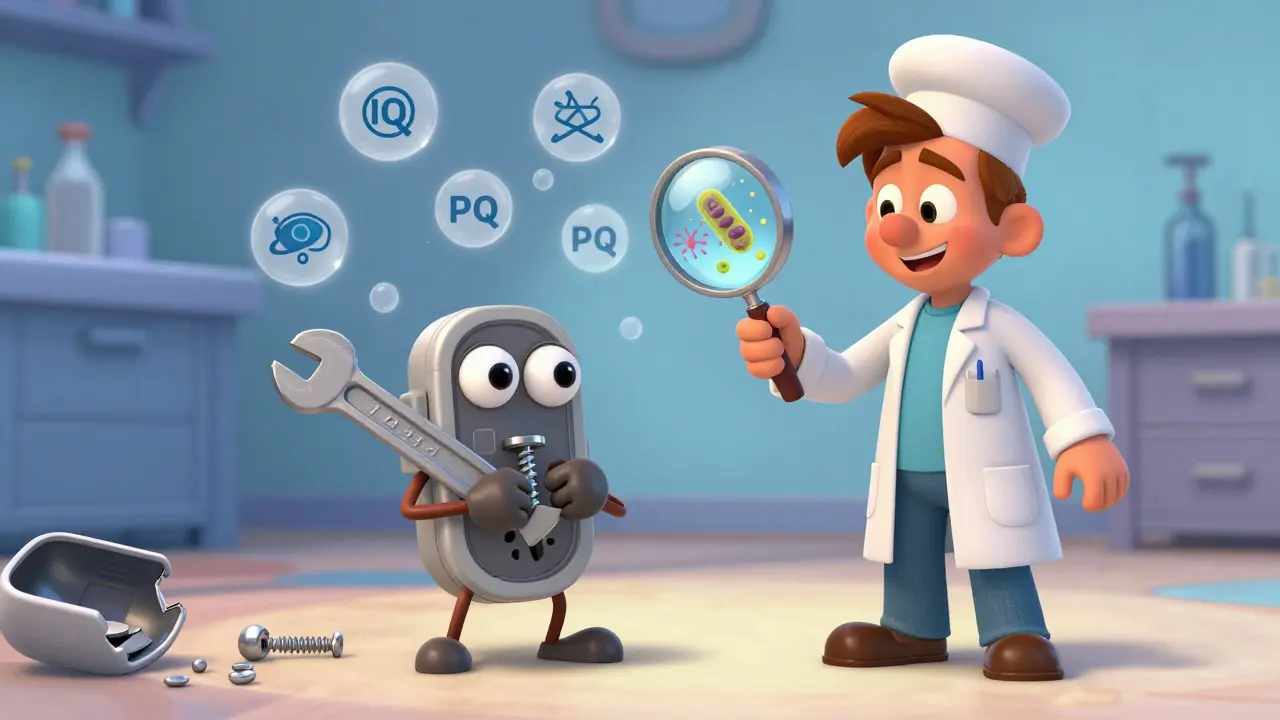
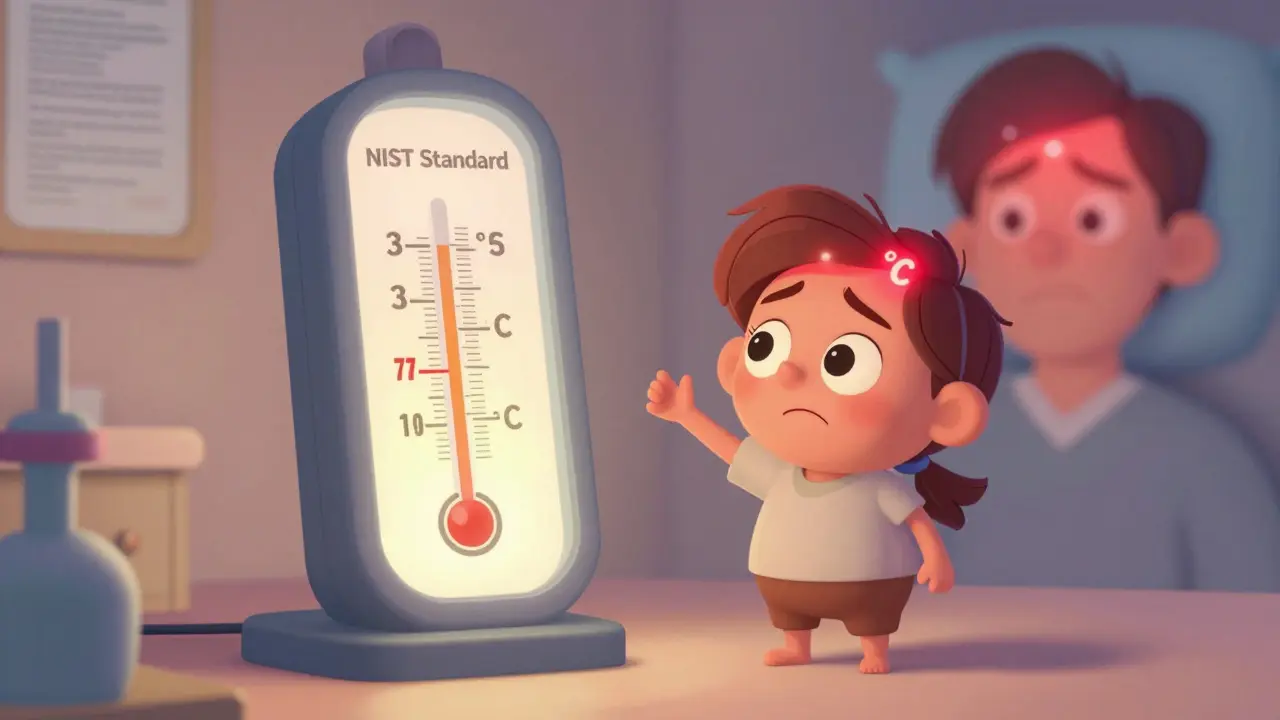
When you're making medical devices, pharmaceuticals, or even high-precision parts for aerospace, a tiny error in measurement can mean the difference between a life saved and a life lost. That’s why equipment calibration and validation aren’t just paperwork-they’re the backbone of safety and compliance in manufacturing. If your thermometer reads 37.5°C when it should be 37.0°C, and you’re testing a patient’s fever, that half-degree could delay treatment. If your torque wrench over-tightens a screw on a pacemaker, it could crack the casing. Calibration fixes that. Validation makes sure the whole system works as intended.
What’s the Difference Between Calibration and Validation?
People mix these up all the time. Calibration is about accuracy. It’s when you compare your instrument-like a scale, a pressure gauge, or a laser measurer-to a known standard that’s traceable back to the International System of Units (SI). If your scale says 100 grams but the certified weight is 99.8 grams, you adjust it. That’s calibration.
Validation is about performance. It asks: “Does this machine do what it’s supposed to do in real-world conditions?” For example, a sterilizer might be calibrated to hit 121°C. But validation tests whether it actually kills all bacteria in a full load of surgical tools, under real cycle times, with different packaging materials. You don’t just check the temperature-you check the outcome.
Think of it this way: Calibration is tuning your guitar. Validation is playing a full song and making sure every note sounds right in front of an audience.
Why ISO 13485:2016 Is the Gold Standard
If you’re making medical devices, ISO 13485:2016 is your rulebook. It doesn’t just say “calibrate your tools.” It demands traceability. Every calibration must link back to national standards-like NIST in the U.S. or NPL in the UK-through an unbroken chain. That means if your lab calibrates a micrometer, that micrometer’s calibration certificate must show it was checked against a standard that was itself checked against a higher standard, all the way up to the original SI unit.
ISO 13485 also says calibration must happen “at specified intervals or prior to use.” That’s flexible-but dangerous if misused. Some companies try to stretch intervals to save money. But here’s the catch: if your equipment drifts out of tolerance between calibrations, you’re not just non-compliant-you’re risking patient safety. The FDA’s 2023 warning letter analysis showed 37.2% of citations were for poor calibration practices. That’s not a minor audit finding. It’s a red flag.
Calibration Intervals: One Size Doesn’t Fit All
Manufacturers often list a default interval-say, every 12 months. But that’s just a starting point. Your real interval depends on three things: how often you use the tool, how harsh the environment is, and how stable the equipment has been historically.
Take a digital pH meter in a lab that’s always at 22°C and 45% humidity. If it’s been stable for 18 months, you might extend calibration to biannual. But if that same meter is used in a humid cleanroom where moisture constantly condenses on the probe, you might need monthly checks. A 2024 Reddit thread from 63 quality engineers showed that 78% had extended intervals successfully after collecting stability data. One biomedical lab saved $18,500 a year by switching from quarterly to biannual calibration on electronic scales-after proving the readings didn’t drift beyond ±0.05 grams over 18 months.
On the flip side, NIST Technical Note 1900 found that 57.8% of out-of-tolerance incidents happened when temperature swung more than ±5°C from calibration conditions. So if your factory floor gets hot during production runs, your calibration lab must account for that-or your measurements are useless.

Validation: The Three Qs-IQ, OQ, PQ
Validation isn’t a one-time event. It’s a process with three phases:
- Installation Qualification (IQ): Did you install the equipment correctly? Are all parts present? Is the environment right? (e.g., power supply, air quality, water purity)
- Operational Qualification (OQ): Does it work under all expected conditions? Test extremes: max/min temperature, speed, load, pressure. Run it empty. Run it full. Run it slow. Run it fast.
- Performance Qualification (PQ): Does it consistently produce good results? This is where you run multiple batches under normal conditions and prove the output meets specs every time.
For a new automated filling machine in a drug production line, this process can take 6-12 months and cost up to $500,000. But skipping it? That’s how you get a batch of pills with the wrong dosage-and a recall that costs millions.
Regulatory Differences Matter
Not all standards are the same. ISO 13485 requires full traceability to SI units. CLIA, which governs clinical labs, allows some point-of-care devices (like glucose meters) to skip full calibration if they use manufacturer-provided verification checks. That’s a 23.5% reduction in workload for waived tests, per CMS 2023 data.
And then there’s the EU MDR 2017/745 versus FDA rules. The EU requires traceability to BIPM (International Bureau of Weights and Measures). The FDA accepts NIST. If you sell globally, you need two calibration chains. That adds 18.7% in cost, according to a McKinsey study of 45 medical device firms. It’s not just paperwork-it’s logistics, lab access, and documentation overhead.
Why Digital Tools Are Changing the Game
Spreadsheets are dead for calibration management. A 2024 System Scale survey of 89 manufacturers showed companies using cloud-based calibration software like GageList or Trescal cut audit prep time by 63.2%. Instead of hunting through file cabinets for certificates, they click a button and pull up every device’s history: last calibration date, next due date, who performed it, environmental conditions at the time, and any adjustments made.
Some are going further. Pfizer’s pilot program used AI to predict when equipment would drift based on usage patterns and environmental logs. They reduced calibration frequency by 31.7% without a single out-of-tolerance incident. That’s not magic-it’s data-driven risk management.
But here’s the catch: 44.2% of automated systems fail to properly document the chain of custody for reference standards, according to NIST’s 2024 report. If you can’t prove your reference weight was never tampered with or stored improperly, your whole calibration chain is invalid. Digital tools must be secure, auditable, and traceable-not just convenient.

Common Pitfalls and How to Avoid Them
Here’s what goes wrong-and how to fix it:
- Using manufacturer’s default interval: Don’t assume. Collect data. Use the SAE AS9100D ‘Method 5’ approach: combine manufacturer advice, historical performance, and risk level.
- Ignoring environmental controls: SEMI E177-0323 found 41.3% of calibration failures in semiconductor manufacturing came from uncontrolled humidity. Install climate-monitored chambers if needed. Even a $100 humidity logger can catch drift before it becomes a problem.
- Skipping validation for off-the-shelf software: Just because it came with a certificate doesn’t mean it’s validated for your process. You still need to test it under your conditions.
- Understaffing calibration teams: ILAC’s 2024 survey found 83.6% of labs struggle to hire qualified metrologists. Invest in training. ASQ’s Certified Calibration Technician (CCT) program has over 14,000 certified professionals globally. Pay for it-certified techs earn 22.5% more, and they’re worth it.
The Future: Continuous Monitoring, Not Calendar Checks
ISO 13485:2016 Amendment 1, released in March 2024, now requires calibration of AI/ML-based measurement systems through continuous validation. That means algorithms used in image analysis or predictive quality control must be monitored for drift-just like a physical sensor.
The FDA’s 2024 Calibration Modernization Initiative mandates electronic records for all Class II and III device manufacturers by December 31, 2026. That’s 14.2 million paper records being replaced. It’s not just about saving trees-it’s about speed, accuracy, and audit readiness.
NIST is working on quantum-based standards that could make electrical measurements 100 times more accurate by 2030. Imagine calibrating a sensor once every five years instead of every six months. That’s the future.
But it’s not here yet. Right now, the biggest challenge is people. 47 accredited calibration labs closed in 2023 because they couldn’t find qualified staff. If you’re a small manufacturer, don’t try to do everything in-house. Partner with a certified lab. Use software. Document everything. And never assume your equipment is fine just because it’s been working.
What You Should Do Today
Here’s a simple action plan:
- Inventory every measurement device. Give each one a unique ID.
- For each, document: manufacturer, model, calibration interval, last calibration date, next due date, and traceability certificate.
- Review your calibration intervals using historical data-not just the manual.
- Ensure your environment is controlled during use and calibration.
- Start using calibration software if you’re still using Excel.
- Train your team. Even a 4-hour workshop on ISO 13485 Clause 7.6 can prevent a major audit finding.
Calibration isn’t about checking boxes. It’s about trust. Trust that your product is safe. Trust that your data is accurate. Trust that when an inspector walks in, you’re ready-not scrambling.
